One project demanding a do-over in my yard was my garden shed. After 8 years in the same spot, and torrential rains every winter, it had been sinking into the mud. I had it completely dismantled, had a concrete slab poured, and reassembled on the slab. No more sinking. But, it still needed a makeover.

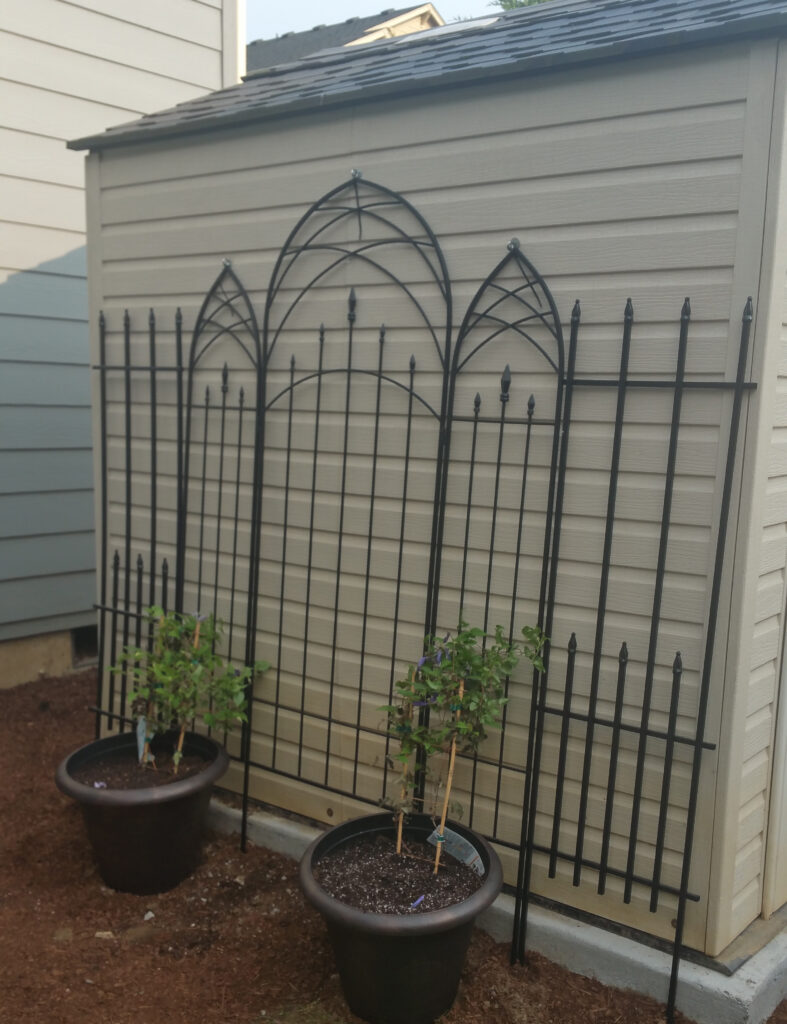
I power washed the outside and inside to spruce it up, but it still needed some TLC. As I was browsing my local ACE Hardware store, I happened upon two reduced-price steel trellises. This was just what I needed. It was a tri-fold steel unit, and the right width and height for my shed makeover, and strong enough to hold up a heavy climbing plant.
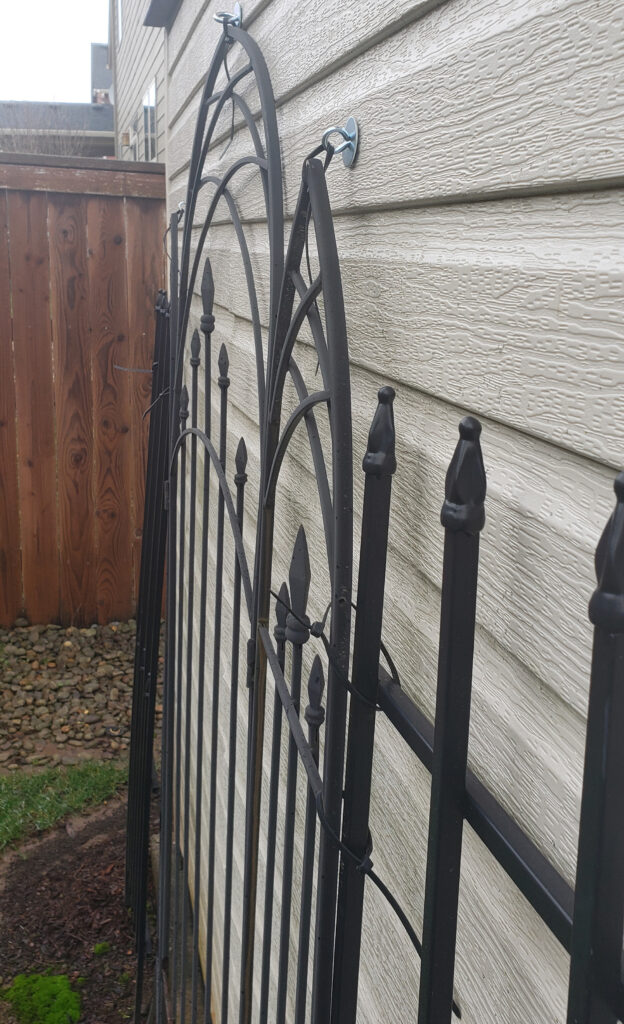
After setting the trellis in place, I marked several locations on the outside of the shed where I would need to drill holes to install the bolts with hex nut and fender washers to secure the trellis to the shed. Make sure your bolts are long enough to go through the shed to the other side (my shed is two layers of vinyl, so I couldn’t secure to a wood beam.) I used these
Everbilt Eye Blt 3/16″-24 x 3″ Z-824091 – The Home Depot
Washers
I would also need zip ties to attach the trellis to the eye bolt.

Materials needed:
- Two Steel Trellis, your preferred size, one for each side of shed
- Drill, and 3/16″ drill bit
- Wrench
- 10 – 3/16″ x 3″ Eye Bolt with Hex Bolt
- 20 – Fender Washers, 1/4″ x 1″
- 10 – Zip Ties, sturdy
- Marker
Directions:

- Place your trellis in desired location, up against shed.
- Make a mark on shed with marker where your eye bolt will connect with shed. I used 5 bolts per trellis. Set trellis aside.
- Drill a hole in shed, making sure it goes all the way through the wall.
- After drilling holes, insert bolt through one washer with eye on outside wall and screw in bolt.
- On inside wall, locate bolt and slide on washer and screw on hex nut, tighten.
- Repeat this for remaining bolt assemblies (mark hole, drill hole, insert assembly and tighten)
- Align your trellis with the installed bolts, and connect with your zip tie, 5 per side.
- Once all bolts are installed, and trellis attached with zip ties, your are done and ready to plant.
I used container planters, partially filled with cut up pieces of pool noodles, for my climbing clematis on one side. The other side will be for a climbing rose. After 3 years, I finally had blossoms. Can’t wait for next season.